Setting up DirectAdmin by using Centos 7
In this article we are gonna research how to set up DirectAdmin by using Centos 7. We are assuming that the virtual server or the dedicated server informations that you bought from sunucupark.com had arrived you and Centos 7 is already installed on your server.
We are using Terminal(modifiable) transaction.
We are using this command to start the process:
ssh root@(ipadresiniz)
Before we start setting up; we should shut down Firewall which is a security wall. It's because Firewall might blog some transactions we need to do. There are two commands for this:
chkconfig --level 2345 iptables
chkconfig --level 2345 ip6tables off
After this, we should also shut down Selinux. Without this transaction, we can not set up DirectAdmin. The command is like this:
vi /etc/selinux/config
Now you will see the 'SELINUX ENFORCING' writ. Open the file with 'vi' that you can see in the command then keystore the i letter. Now selinux is editable. Change the word enforcing to disabled. Then press esc to quit editting mode. Press ShiftZZ to save.
Before you start using, you should update the operating system with this command.
yum upgrade -y
If you did this transactions succesffully, you can pass to the setting up step. At first, we are uploading DirectAdmin package.
yum install psmisc net-tools systemd-devel libdb-devel perl-DBI xfsprogs rsyslog logrotate crontabs file
Then we should check the hostname, whether it is same with our original hostname or not by writing hostname.
Next, we are getting our files with WGET with this command
wget http://www.directadmin.com/setup.sh
sh setup.sh
As a final step write Cliend ID and Licanse Id when the program asks you, answer questions with y. With this steps you finished setting up sucessfully. Write your IP at your scanner's lookup field with 2222 port. Now your panel is ready to use.
After you upload DirectAdmin there are still some important steps that needs to be done. If you skip any step, program will not work perfectly.
At the beginning you should login to the panel with admin username then add an IP adress for your second DNS server. For this step, make sure you are in Admin level. You can do it in IP Management section. Your second IP's subnet must be the same with the first one. Then assign both IPs to admin.
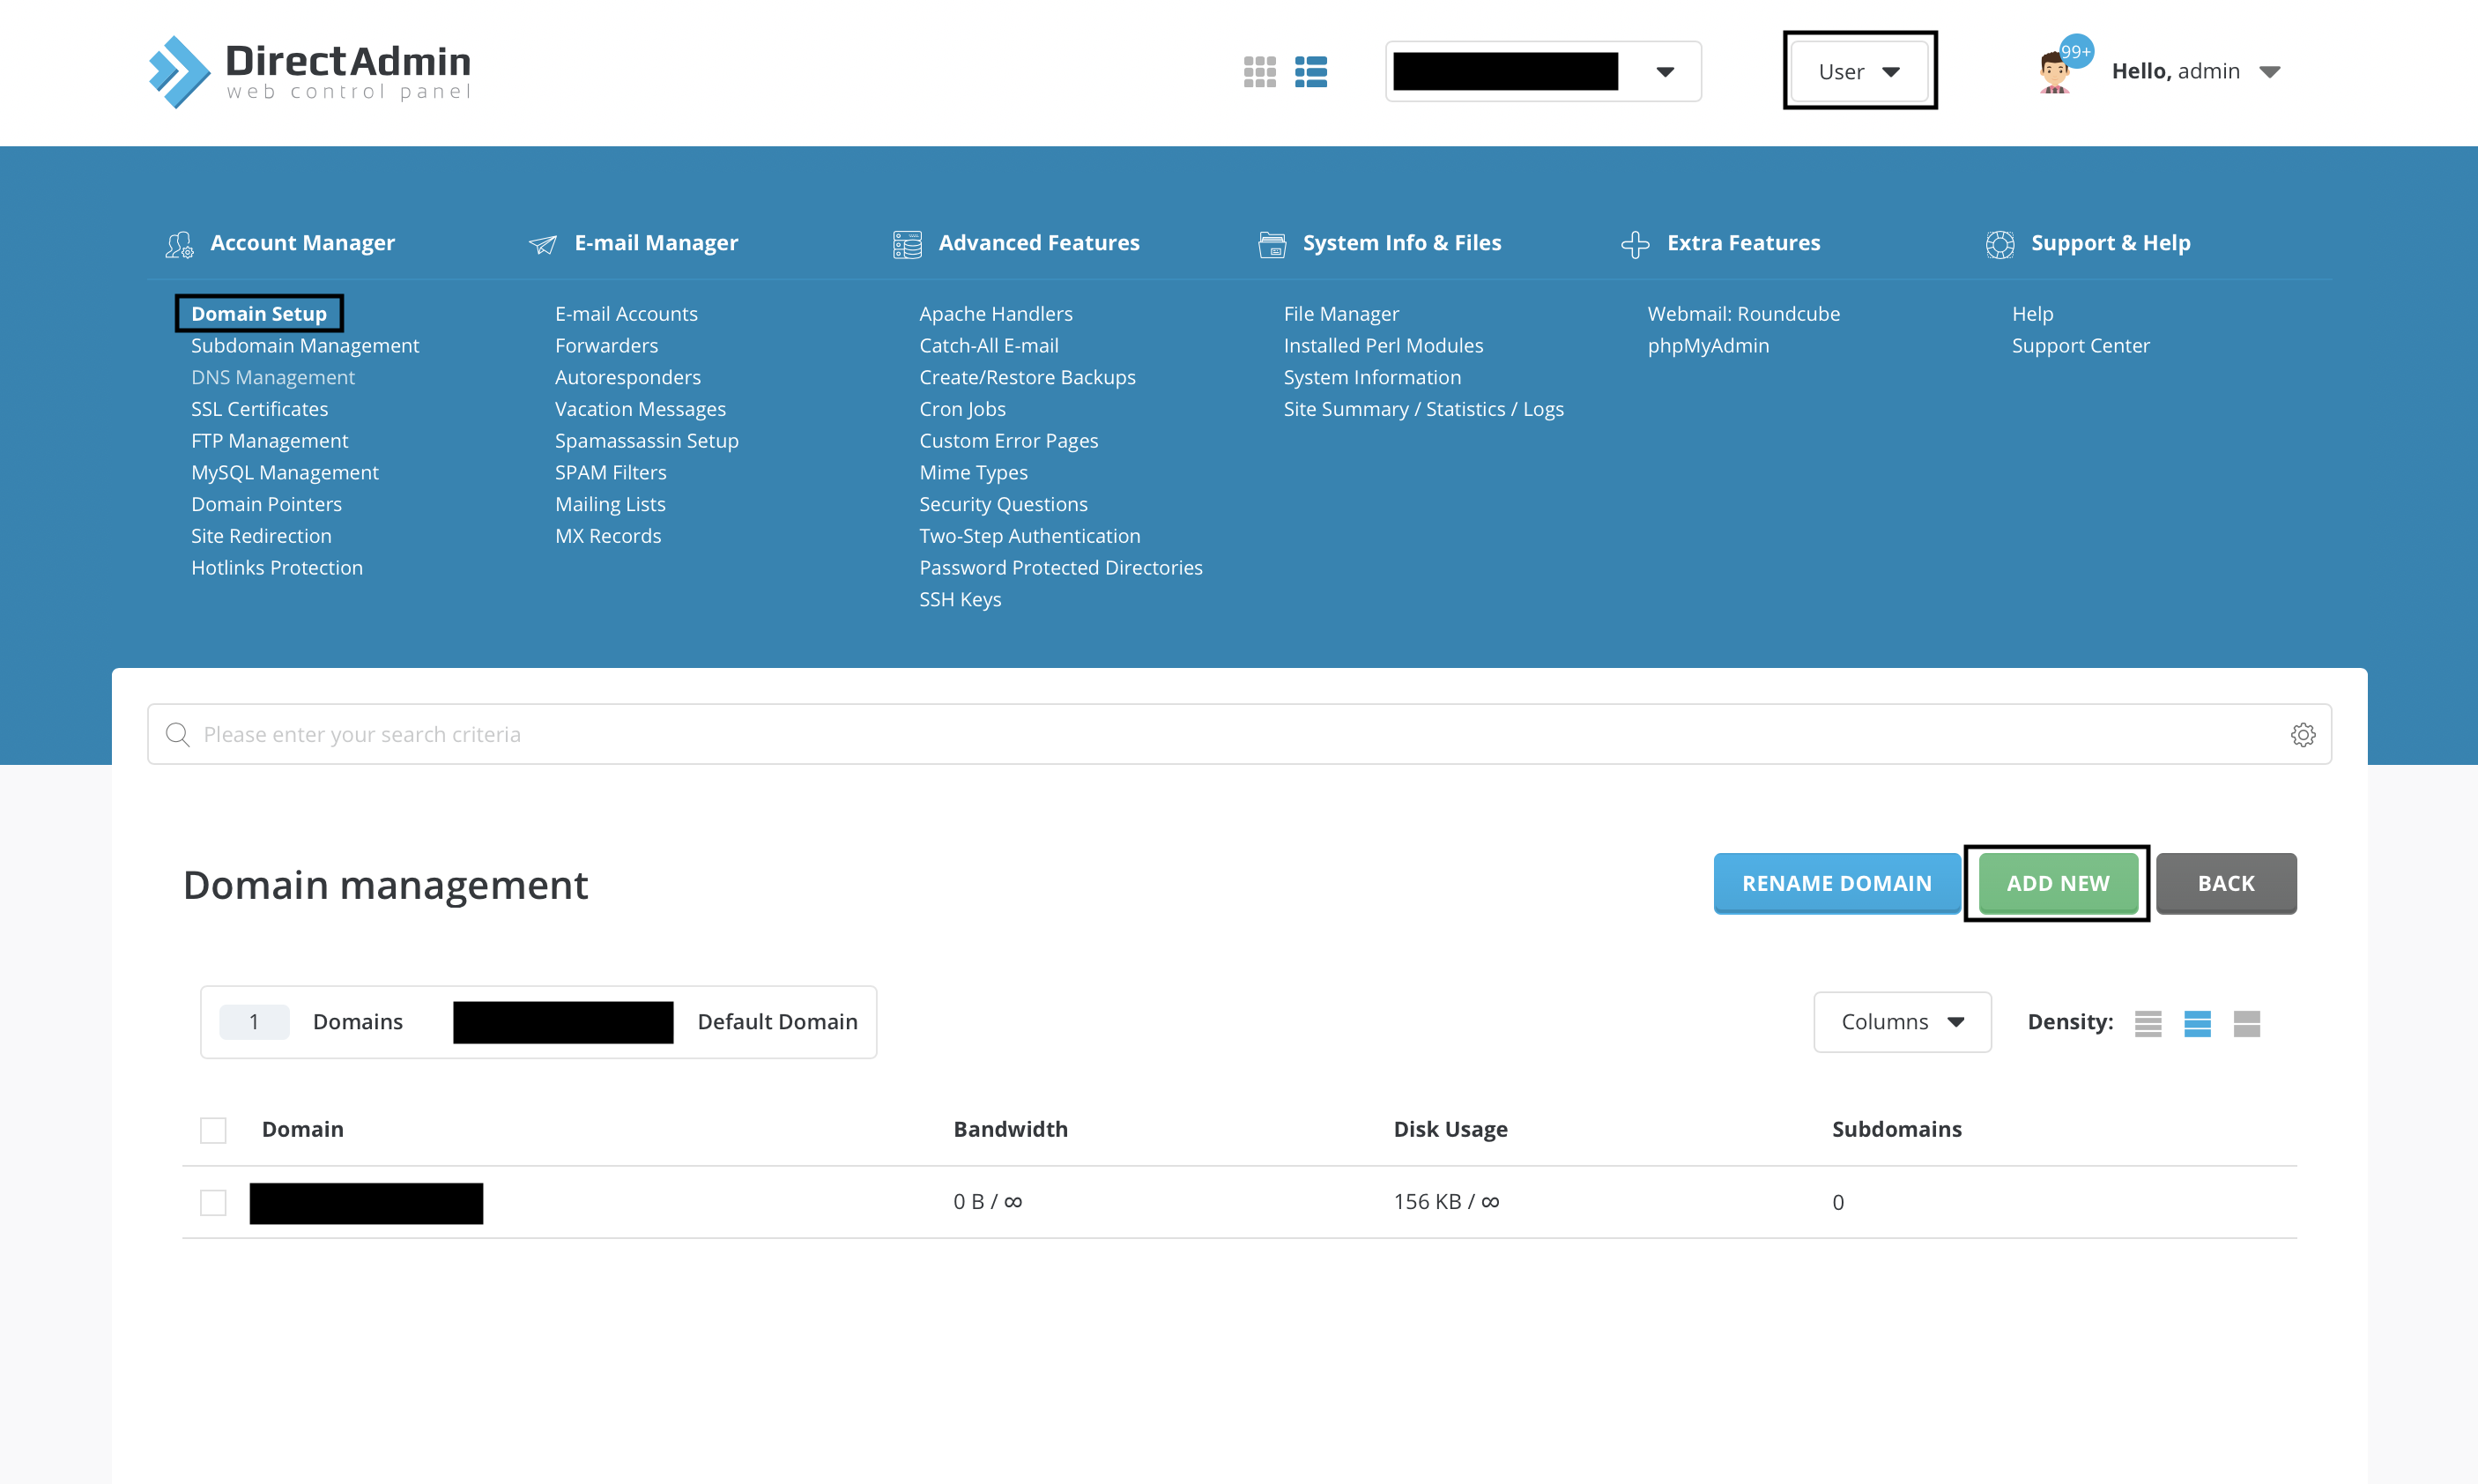
As a second step choose the user level and add new domain in Domain Setup section. You should write your domain without a subdomain.
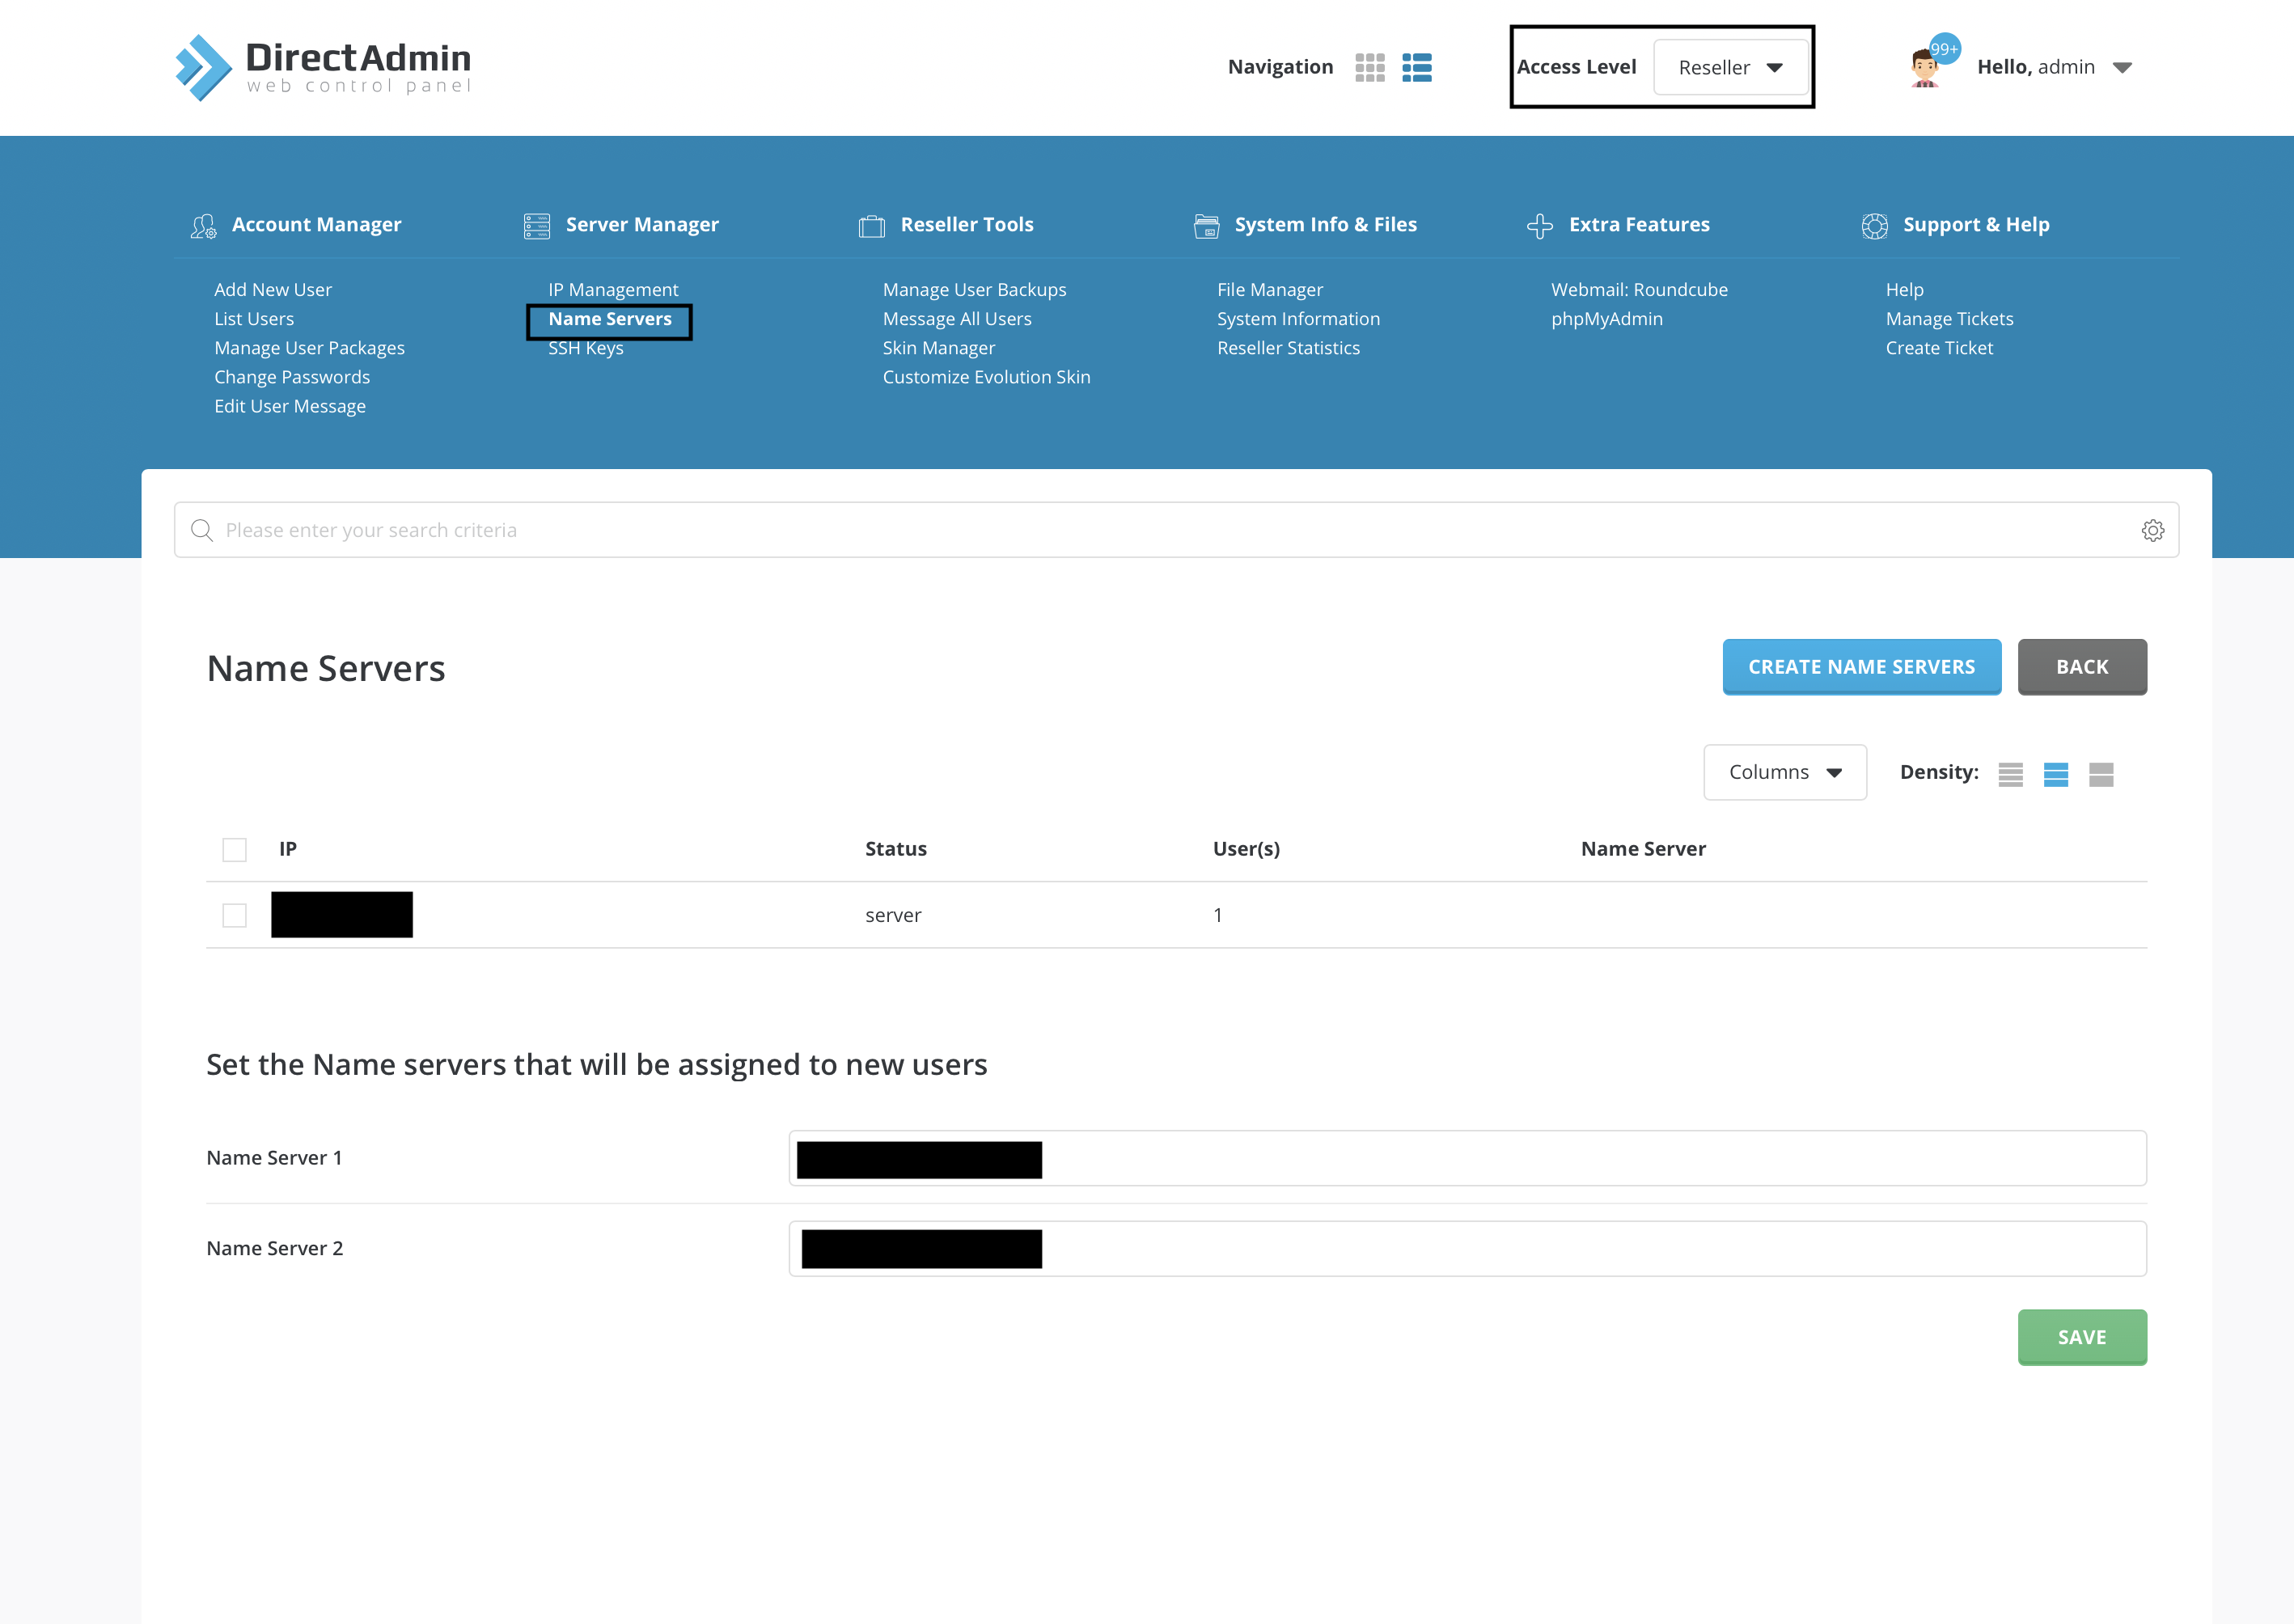
For the final step, choose Reseller level and click Nameservers in Server Manager section. You will see your recent IP and a new one on the screen. Choose both of them and click Create.With this step you ended your main configuration.
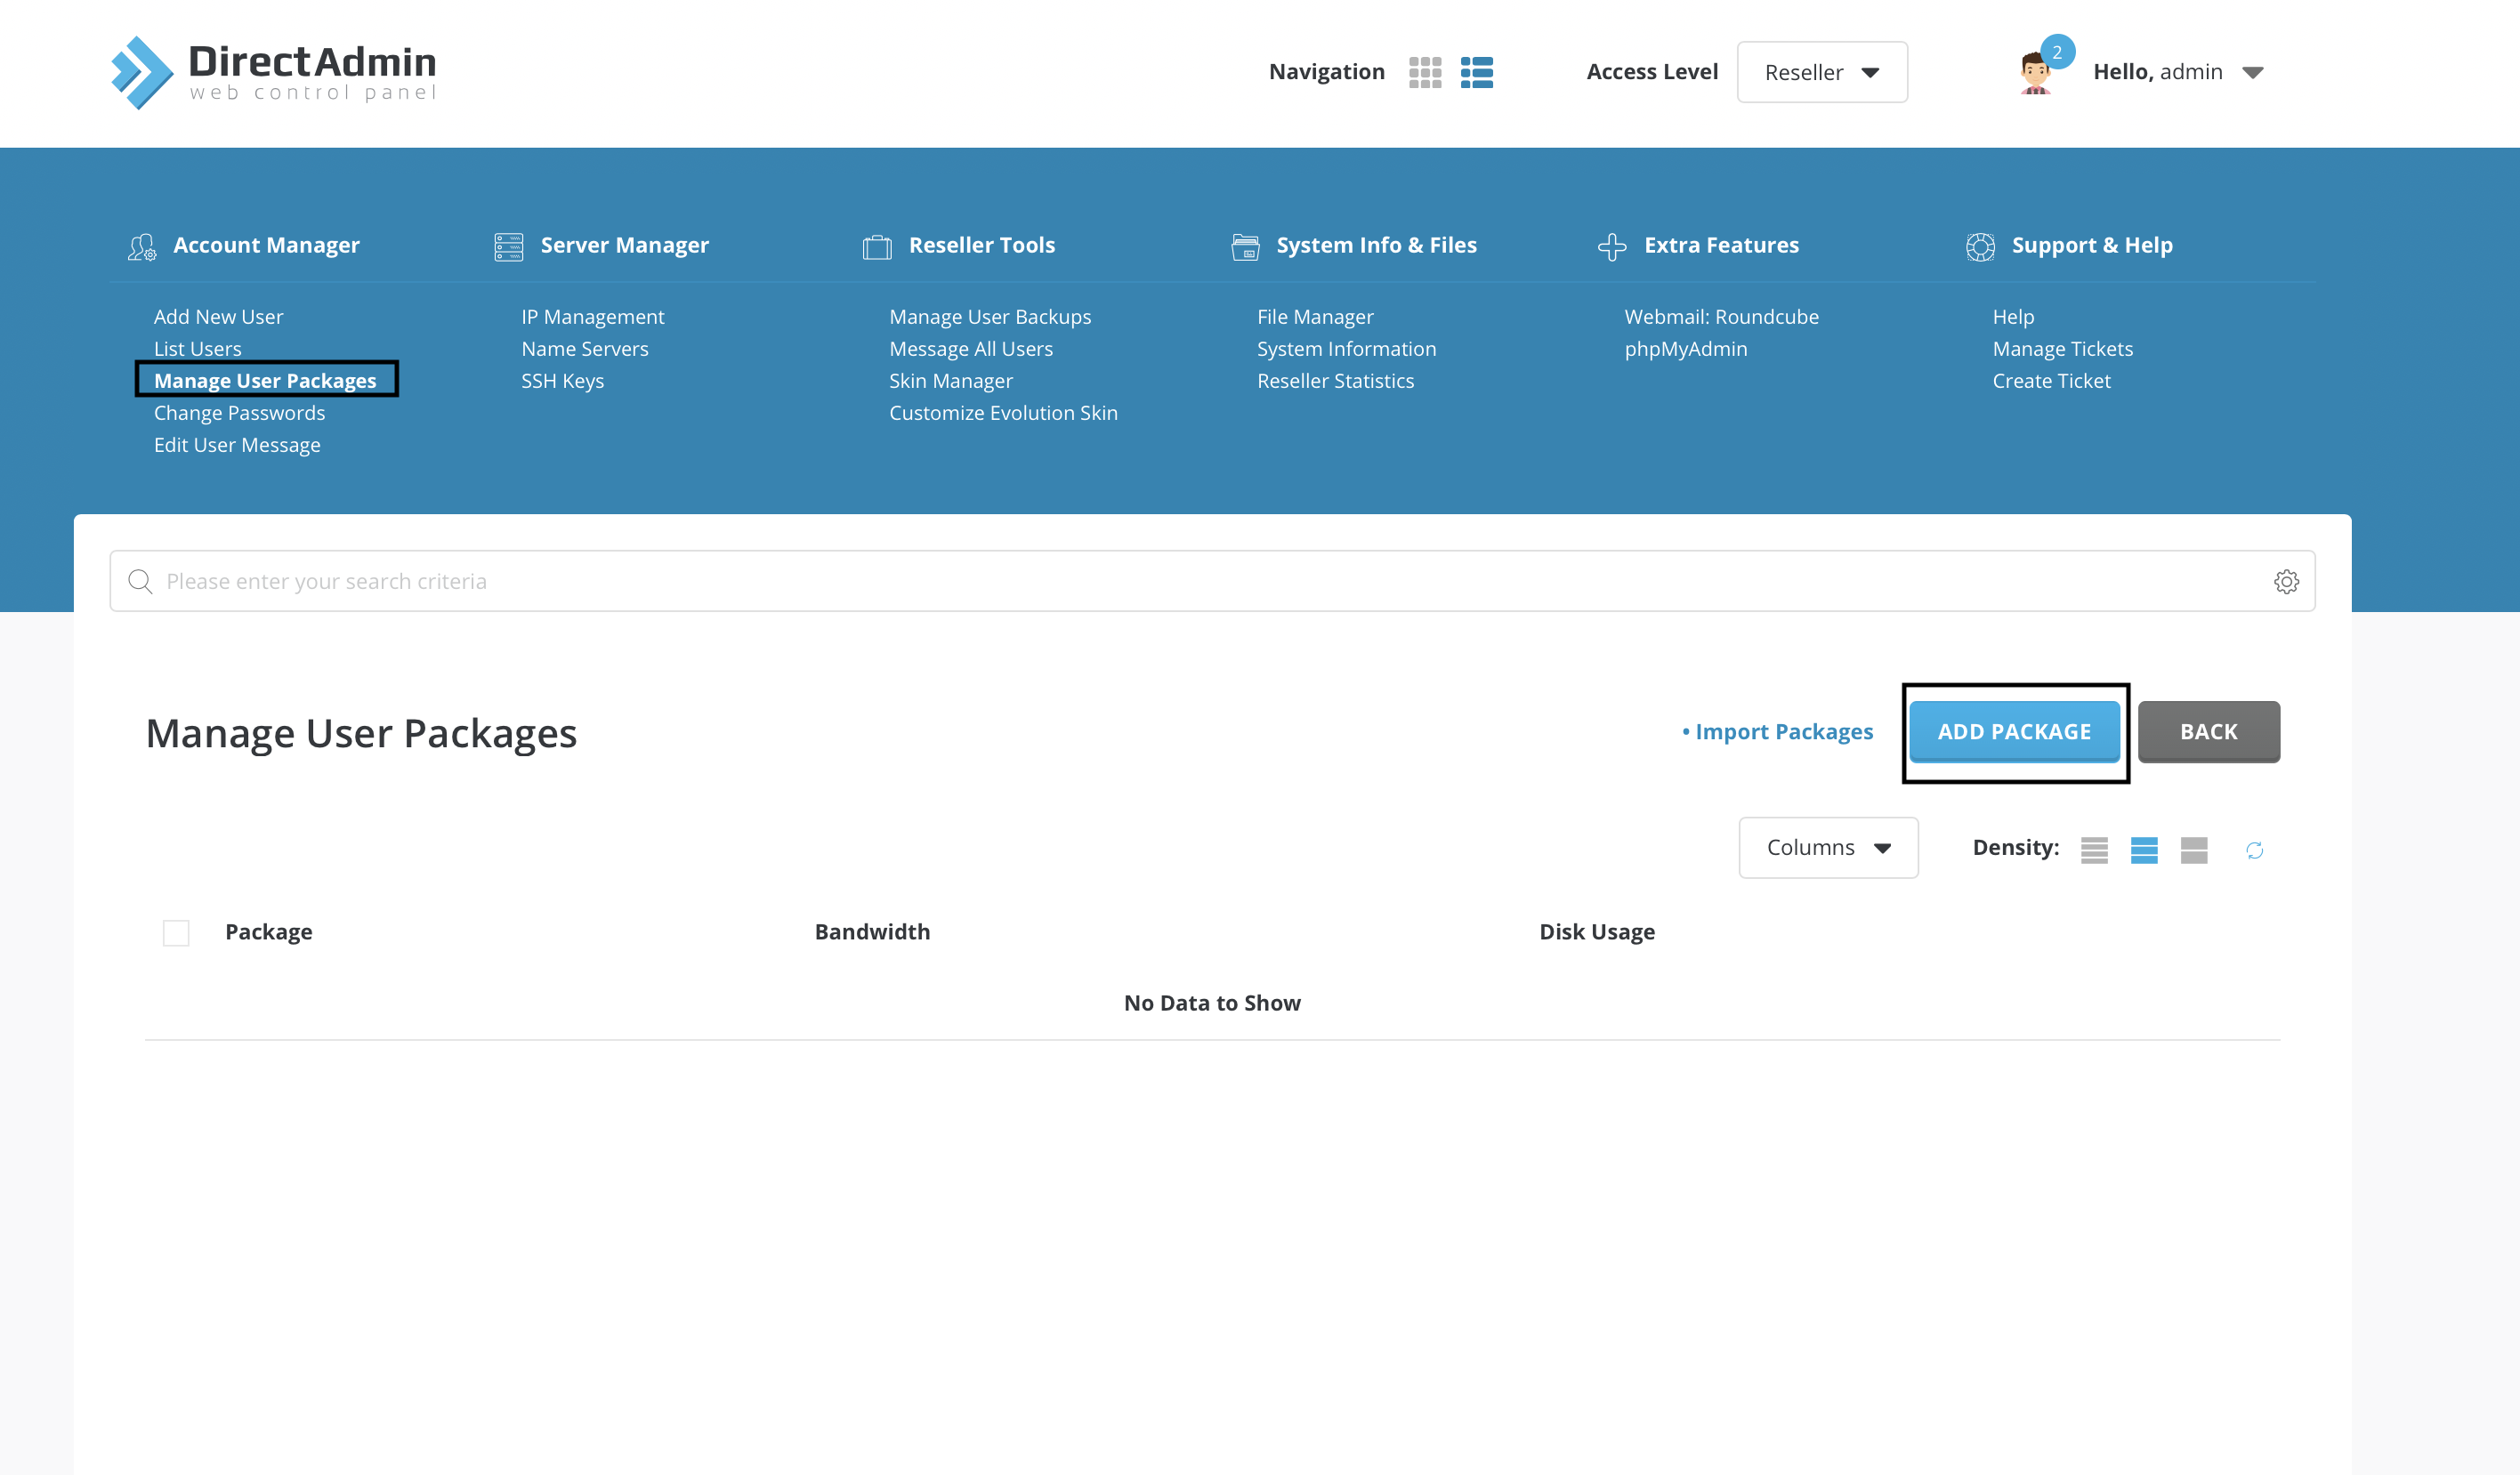
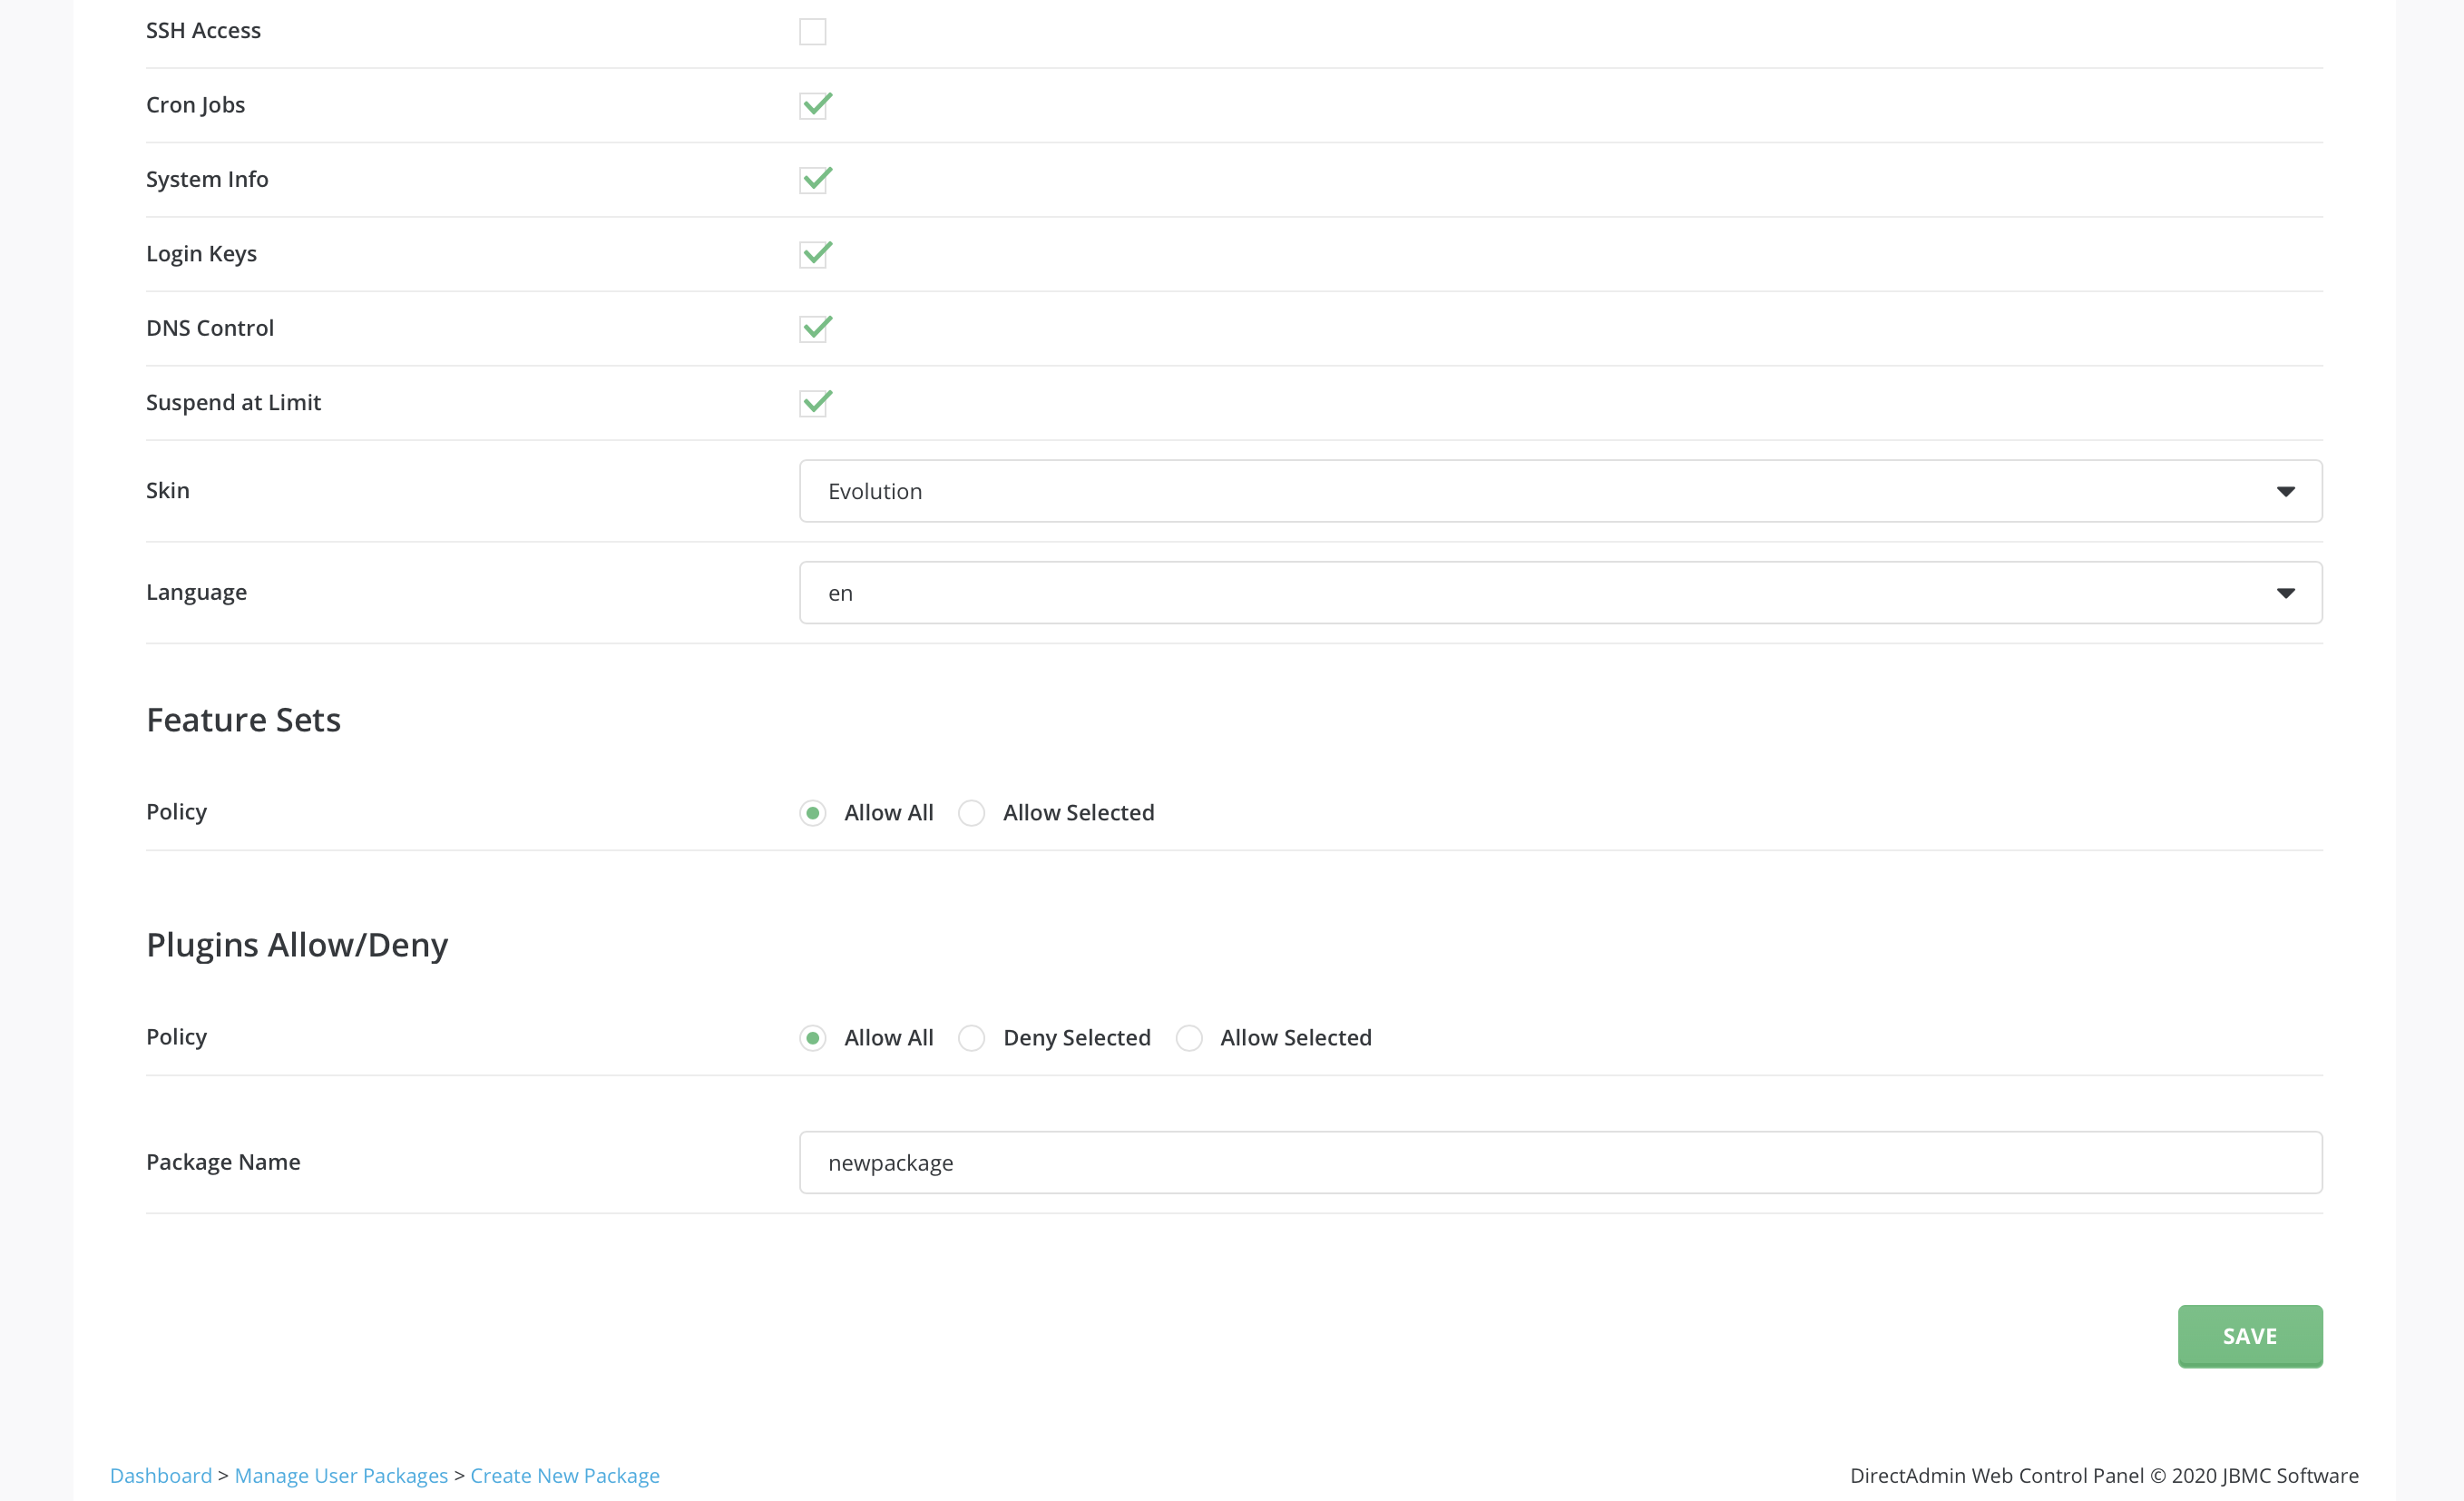
We can continue with package configuration to our article. You should be in Reseller level again for this transaction. ChooseManage user package in Account Manager. In the beginnig you will not have a package so you shoul add package. Then you will fill the blanks according to your want. It is an important step because it will specify how your site going to be.
You can costumize everything in your site with this sections.
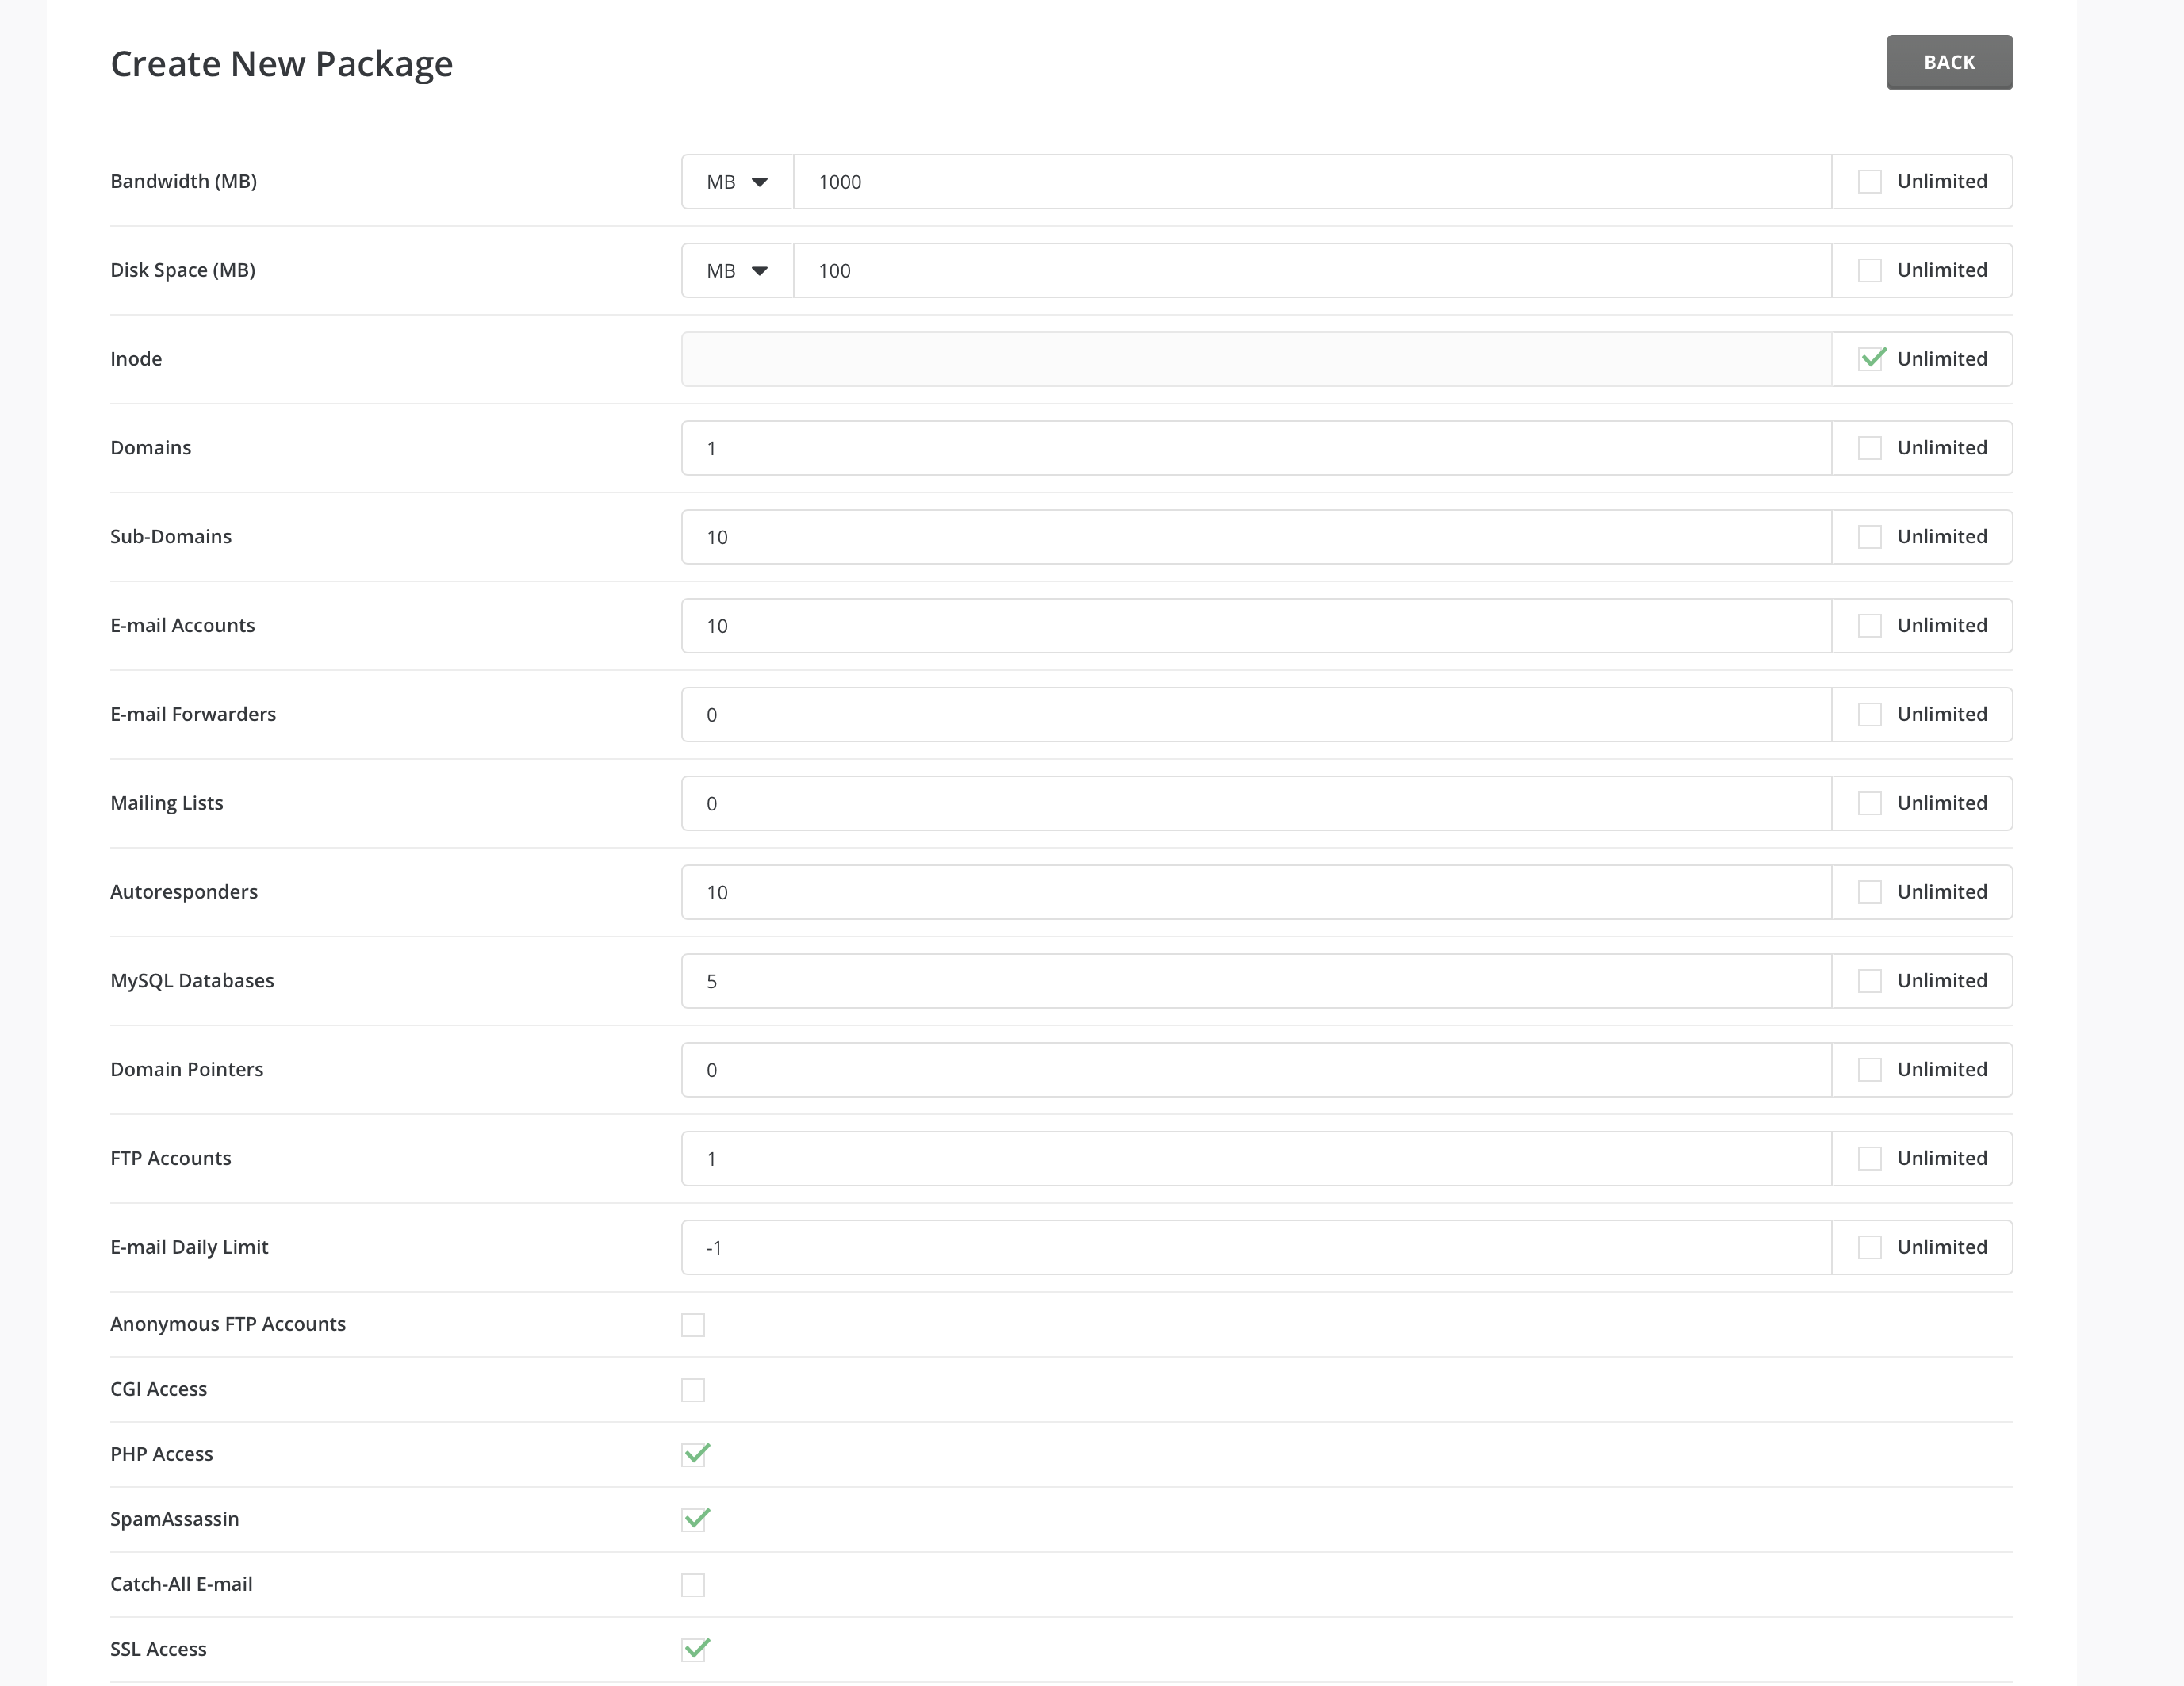
Bandwidth and disk space is important for your site's usage. If you exceed Bandwidth's capacity, your site will not be available anymore. Because of this, the sites that have too many customers use unlimited version.
Domain and subdomain parts specify how many different sites you might have. With subdomains, you can have more than one websites with only one domain.
Spam Assassin preserve you from span messages and with the access parts you can decide whether you give authority toyour costumers or not. As a final step choose your package name and the process will be done.
